Overview
Htmls templates are created so the program will know how to merge all of your content into a website.
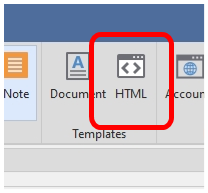
Click the Html button.
A complete website with navigation will be created for you to upload to your website.
New Template
Click the Html button in the Templates group.
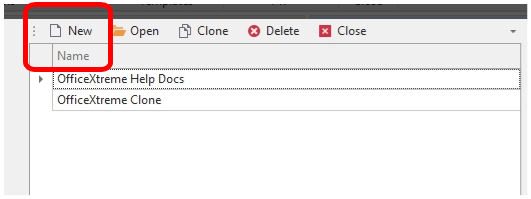
Click the New button to add a new Template.
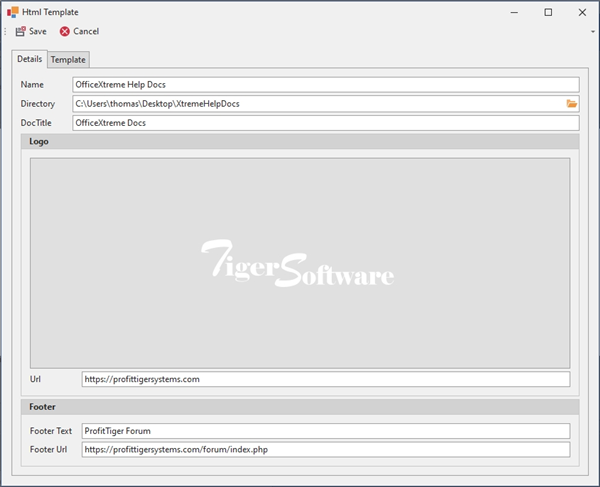
Name – the name of the template.
Directory – the local directory the website will be saved too.
DocTitle – the title of your website.
Logo – a log that will be added to the header of your website.
Logo Url – the url that will be shown for when a person clicks on your logo.
Footer Text – the text that will be displayed in the footer.
Footer Url – the url that will be shown when the person clicks on the footer.
Click Save to save all changes.
Click Cancel to close without saving changes.
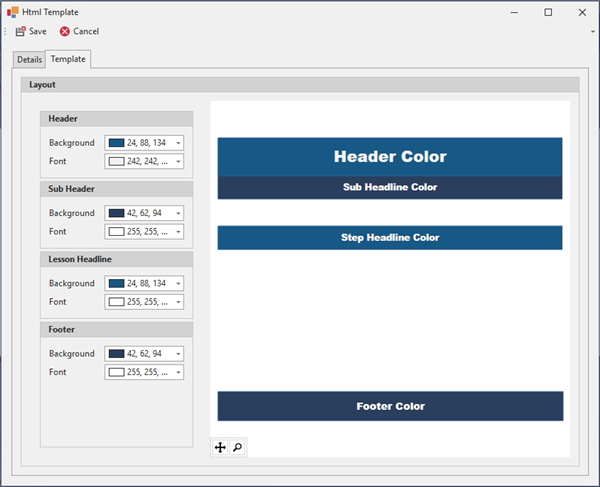
Header Background – Changes the background color of the Header.
Header Font – Changes the text color of the Header.
SubHeader Background – Changes the background color of the SubHeader.
SubHeader Font – Changes the text color of the SubHeader.
Footer Background – Changes the background color of the Footer.
Footer Font – Changes the text color of the Footer.
Editing a Template

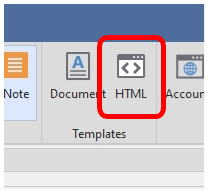
Click the Html button in the Templates group.
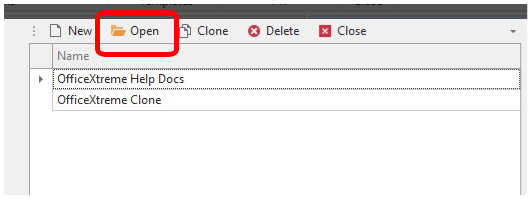
Select the Template you would like to change and click the Open button.

Make your changes and click Save.
Clicking Cancel will close the template without saving changes.
Clone a Template

Click the Html button in the Templates group.
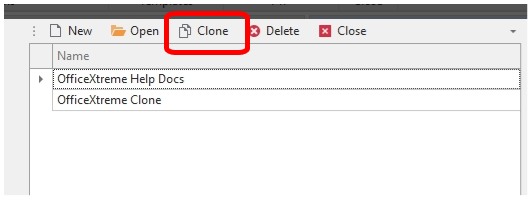
Select the Template you would like to change and click the Clone button.
Delete a Template

Click the Html button in the Templates group.
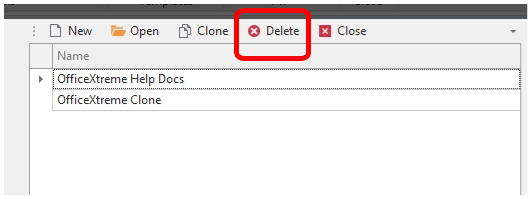
Select the Template you would like to change and click the Delete button.